⚙️ 03. Create an EC2 Instance
This guide walks you through the process of launching an Amazon EC2 instance from the AWS Management Console.By the end, you’ll have a running virtual server that can host web applications or other workloads.
Amazon Elastic Compute Cloud (EC2) provides resizable compute capacity in the cloud. You can launch, configure, and manage virtual servers known as * instances*.
🧭 Prerequisites
Before you start, ensure that you have:
| Requirement | Description |
|---|---|
| AWS Account | A valid AWS account with IAM user access |
| Permissions | IAM policy allowing EC2 actions (e.g., AmazonEC2FullAccess) |
| Key Pair | For SSH access to the instance (create if not available) |
🪜 Steps to Create an EC2 Instance
Step 1: Open the EC2 Dashboard
- Sign in to the AWS Management Console.
- Navigate to Services → EC2.
- Click “Launch Instance”.
Step 2: Name and Tags
- Enter a name for your instance, e.g.
MyWebServer.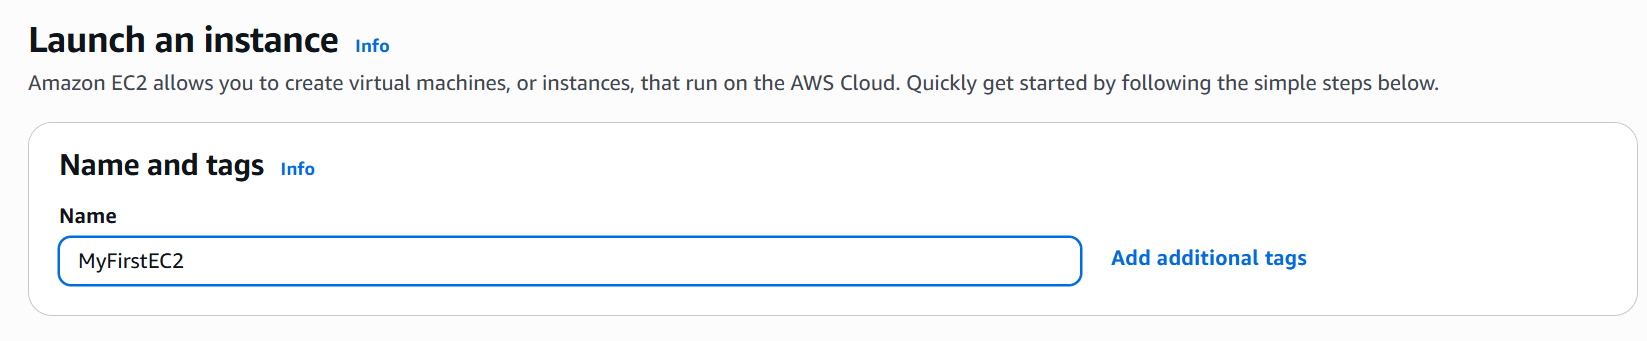
- Tags help organize and identify resources (e.g.,
Environment=Dev).
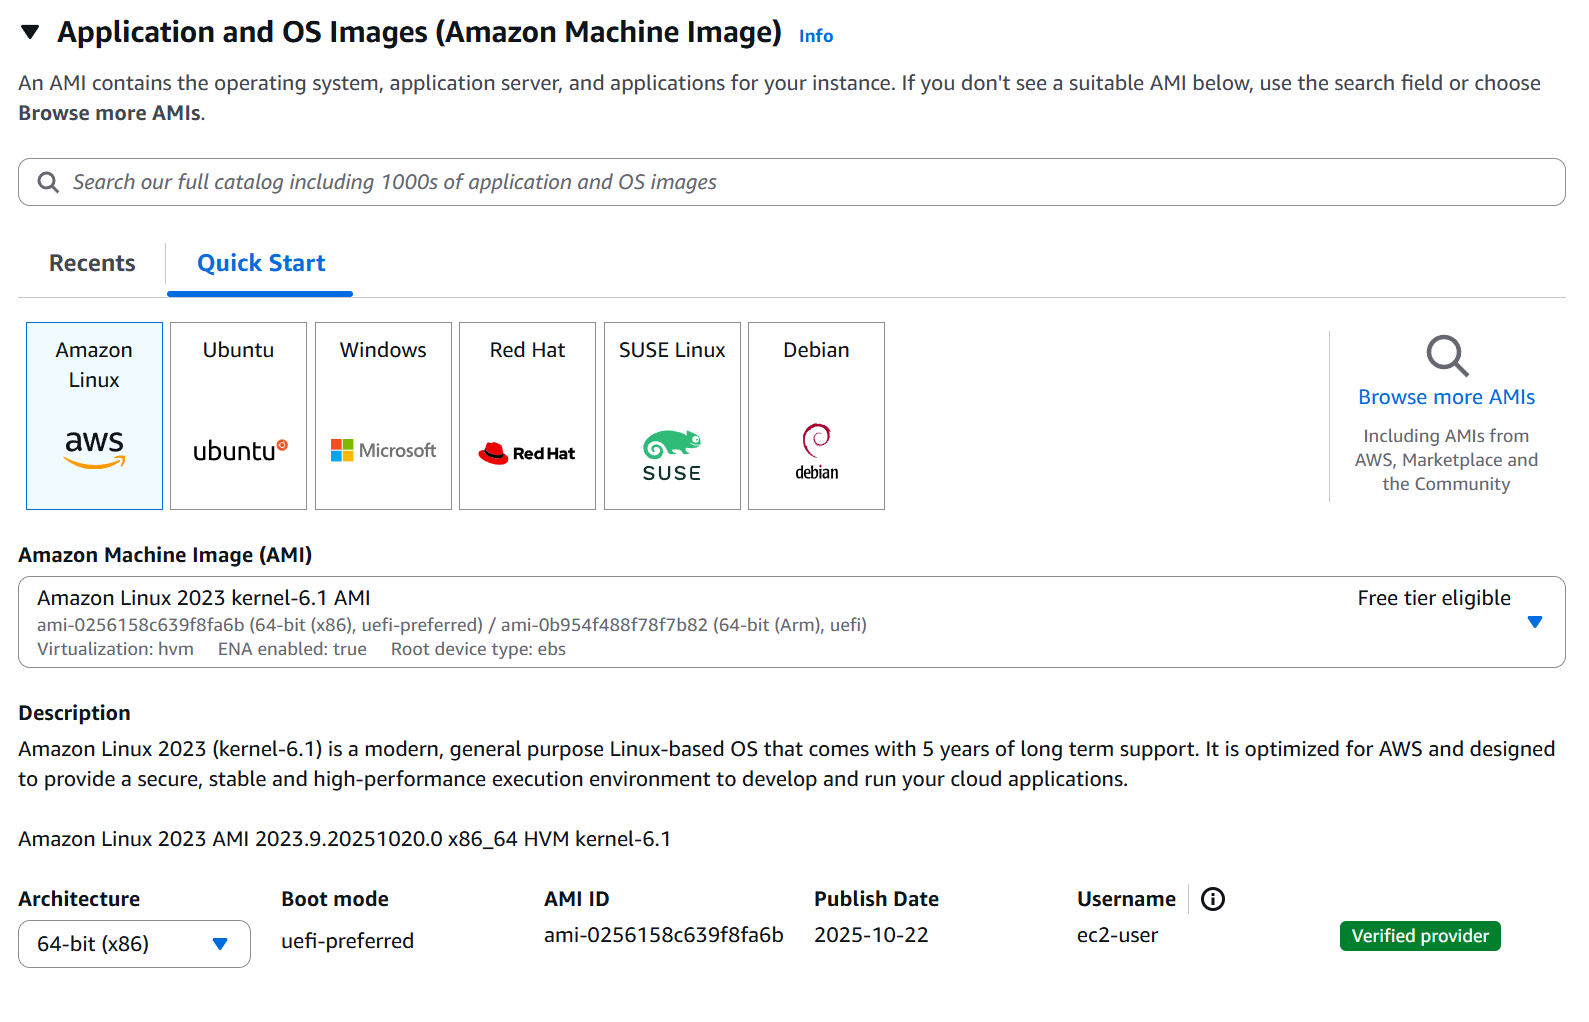
Step 3: Choose an Amazon Machine Image (AMI)
- Select Amazon Linux 2 AMI (Free Tier eligible).
- The AMI defines the OS and pre-installed packages.
- We can use our own AMI, use Prebuilt, AWS Marketplace or use community AMIs
Step 4: Choose an Instance Type
- Select t2.micro (Free Tier eligible).
- Instance type determines CPU, memory, and network performance.

Step 5: Configure Key Pair
- Select an existing key pair or create a new one.
- Download the
.pemfile if creating a new pair — you’ll need it for SSH access.
⚠️ Important: You cannot download a key pair again once created.
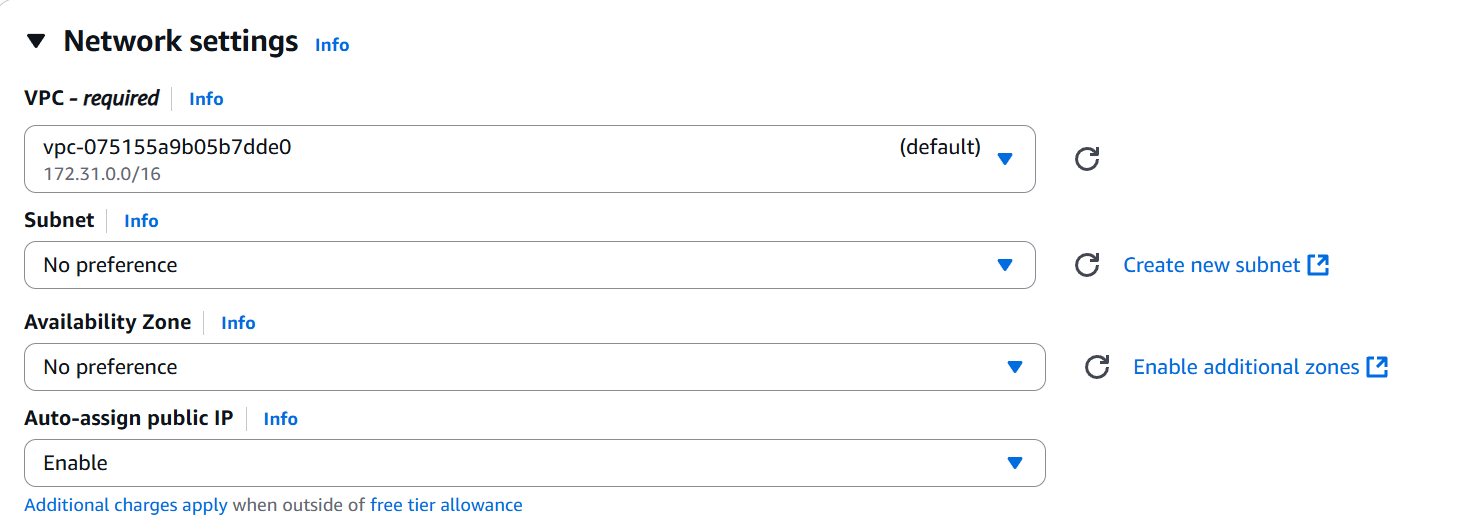
Step 6: Configure Network Settings
-
Choose an existing VPC and subnet (or leave default).
-
Enable Auto-assign Public IP for external access.
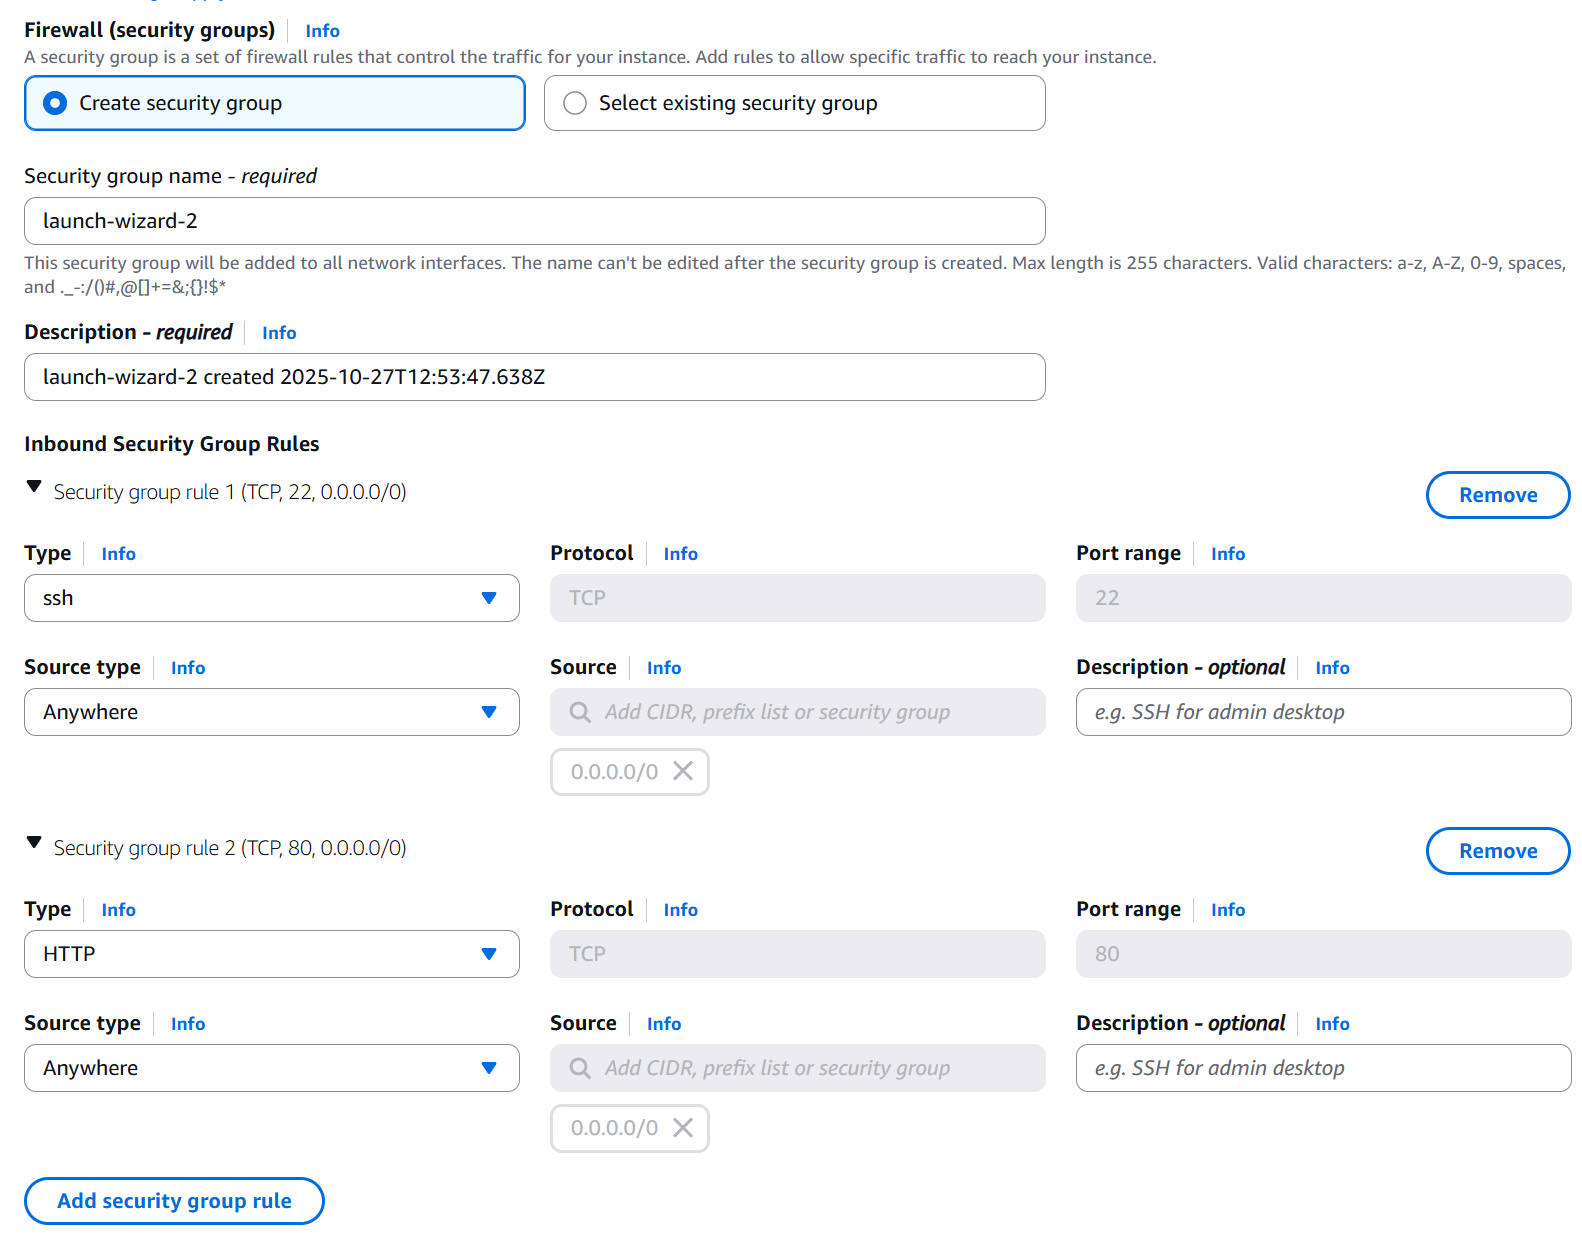
-
Under Firewall (Security Group):
- Create a new security group named
web-sg. - Allow:
- SSH (Port 22) from your IP.
- HTTP (Port 80) from anywhere (
0.0.0.0/0).
- Create a new security group named
- Configure Security Group(Firewall)
Step 7: Add User Data (Optional but Recommended)
Paste the following User Data script to automatically install Apache and serve a webpage:
#!/bin/bash
yum update -y
yum install -y httpd
systemctl start httpd
systemctl enable httpd
echo "<h1>Hello World from $(hostname -f)</h1>" > /var/www/html/index.html
Step 8: Finally Launch The Instance
- Click Launch Instances to launch the first instance.