07. Create and Use a DynamoDB Table
This exercise demonstrates how to create a DynamoDB table, insert data, and understand its serverless and schema-flexible behavior.
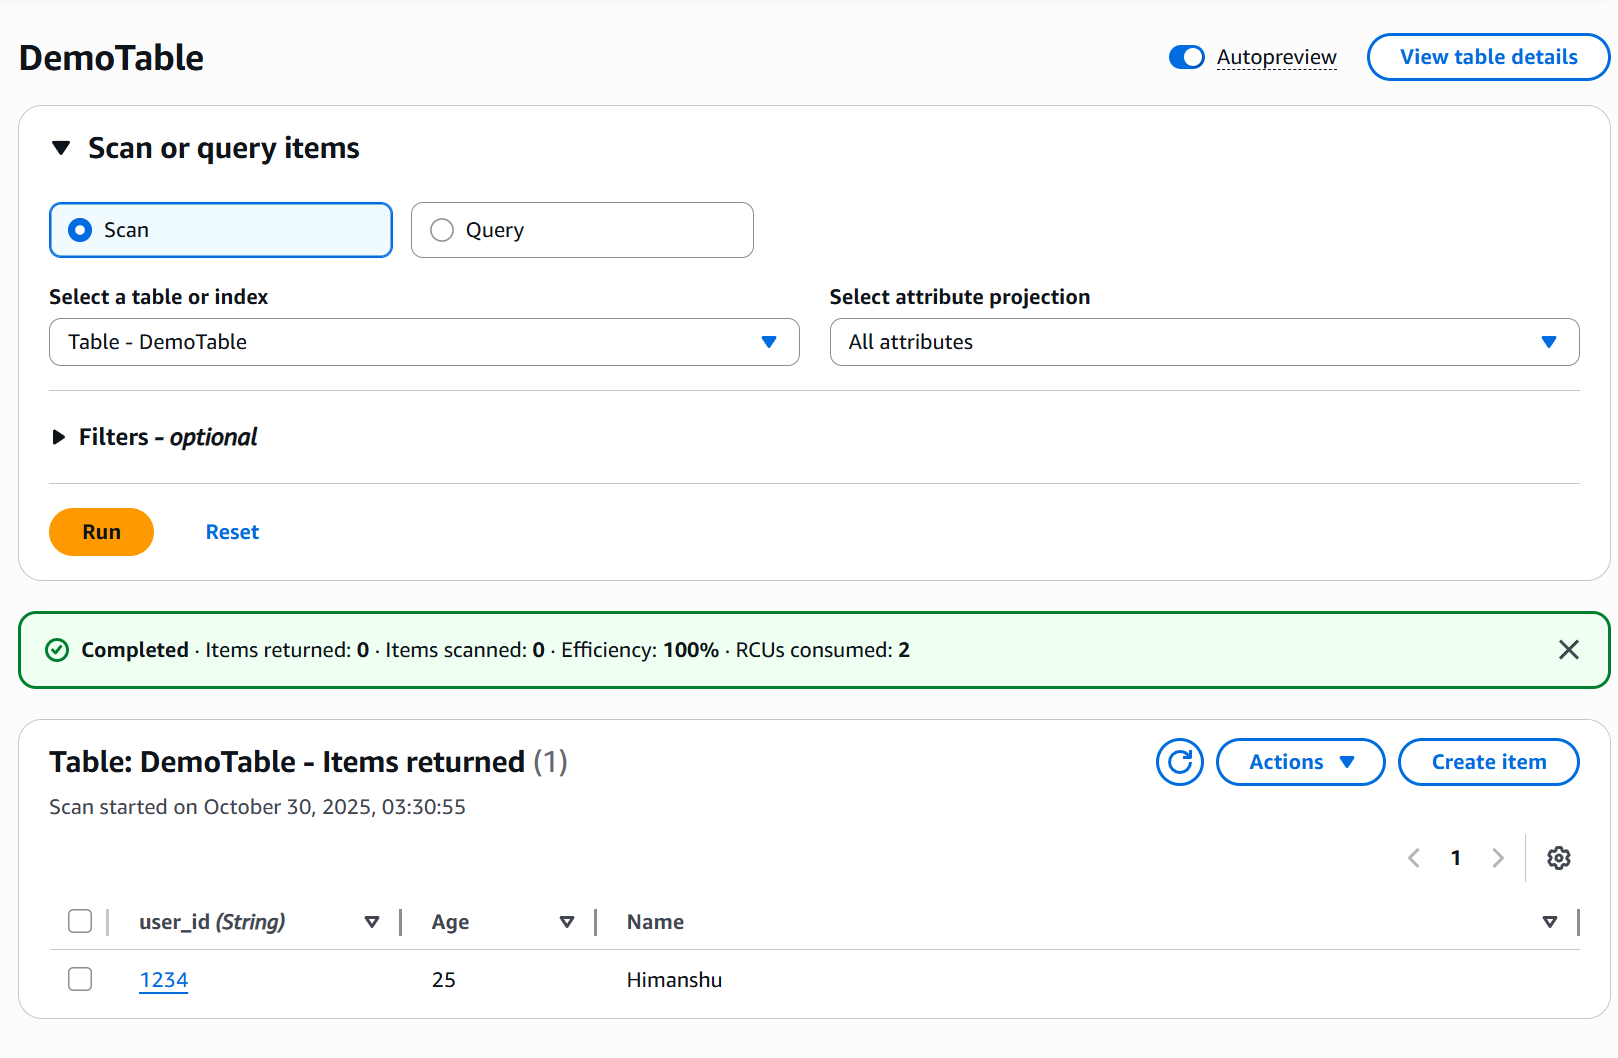
1️⃣ Create Table
| Step | Action |
|---|---|
| 1 | Go to AWS Management Console → DynamoDB → Tables → Create Table |
| 2 | Enter Table name: DemoTable |
| 3 | Set Partition key: user_id (String) |
| 4 | Leave all other settings as default |
| 5 | Click Create table |
2️⃣ Insert Items
Item 1
| Attribute | Value |
|---|---|
user_id | 1234 |
first_name | Stephane |
last_name | Maarek |
number | 42 |
Item 2
| Attribute | Value |
|---|---|
user_id | 45678 |
first_name | Alice |
➡ DynamoDB accepts the second item even though it has fewer attributes — showing its flexible schema.
3️⃣ Observe Behavior
- No need to define or manage a database — DynamoDB is fully serverless.
- You only create a table, not a full database instance.
- Schema-less: Items in the same table can have different attributes.
- No joins — all data should be stored in one table (NoSQL structure).
✅ Result
You created and interacted with a DynamoDB table without provisioning or managing servers — demonstrating the power of serverless and NoSQL design in AWS DynamoDB.